Solution : Clean the Laser Lenses
If prints have voids or light streaks through one or more color, use the following instructions to clean the laser lenses.
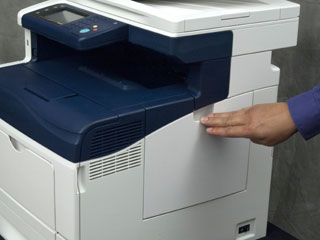
- Power off the printer.
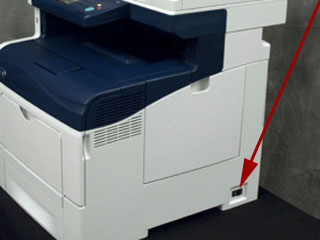
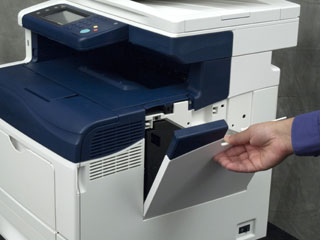
- Open the Right Side Door.
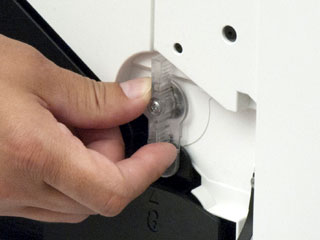
- To unlock the Waste Cartridge, rotate the lever 90-degrees to the left.
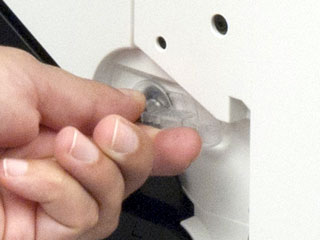
NOTE: Be careful not to spill Toner when handling the Waste Cartridge. After removing the cartridge, do not touch the Toner port.
- Grasp the handle of the Waste Cartridge, then pull the cartridge out of the printer. To prevent Toner spills, keep the openings in the cartridge, face-up.
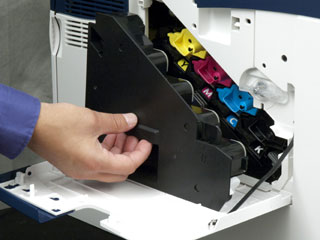
- Place the Waste Cartridge on a level surface.
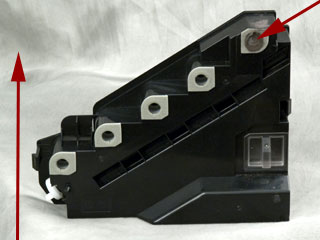
- Remove the cleaning rod from inside the printer.
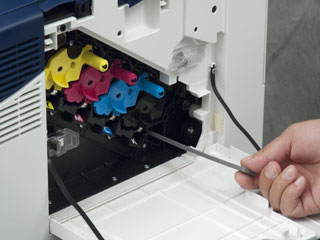
NOTE: There are four cleaning holes; one hole for each Toner (Dry Ink) color. From the front of the printer to the back, the corresponding colors are Yellow (Y), Magenta (M), Cyan (C), and Black (K).
- Insert the cleaning rod into one of the four cleaning holes until the rod clicks into position, then pull the rod out. Repeat this two more times.
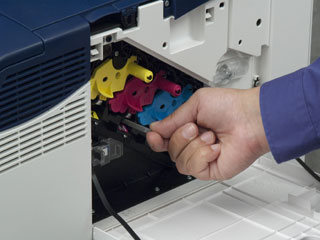
- Repeat step 7 for the other three holes.
- Return the cleaning rod to the original location.
- Reinsert the Waste Cartridge.
- To lock the Waste Cartridge, rotate the lever 90-degrees to the right. When the lever is vertical, the cartridge is locked in position.
- Close the Right Side Door.
- Power on the printer.


